
Healthy Moong Dal Dhokla
Soft, spongy, and guilt-free — the dhokla your body and your taste buds both deserve
foodiegujarati.com/recipes/healthy-moong-dal-dhokla
Dhokla is one of those Gujarati staples that never really needs an introduction. But moong dal dhokla? That version deserves its own moment. Most people reach for the besan packet and call it a day — but this healthy moong dal dhokla recipe uses soaked whole moong dal as its base, which means more protein, a lighter texture, and a flavour that is noticeably fresher and more wholesome than the standard chickpea flour version.
In Gujarat, dhokla is not a snack you think about. It is just there — at breakfast, at tea time, packed into tiffins, served at weddings on the side, and made in bulk whenever family visits. The moong dal version is especially popular in homes where elders prefer lighter, more digestible food. Moong dal has been a cornerstone of Indian kitchen wisdom for centuries, valued for being easy on the stomach and rich in plant protein. Paired with sooji for structure and a whisper of poha for softness, this batter comes together in a way that feels nourishing from the first bite.
What makes this version special is its simplicity and honesty. No complicated fermentation. No yeast. Just soaked dal, a good blend, and the magic of fruit salt doing its job in seconds. I have kept the vaghar (tempering) classic — mustard seeds, sesame, hing, curry leaves — because nothing needs improving there. If you have been looking for a lighter, protein-rich snack you can make on a weekday morning without any drama, this is exactly that. Let us get started.
Why You'll Love This
Protein-Rich Base
Soaked moong dal replaces most of the besan here, which means each piece of dhokla carries significantly more plant protein per serving. This makes it a genuinely satisfying snack rather than an empty-calorie filler.
No Fermentation
Fruit salt (eno) does the leavening work in under a minute, so you skip the overnight fermentation step entirely without sacrificing the spongy, airy texture. From batter to steamed dhokla in under 30 minutes.
Lunchbox Ready
These dhoklas hold their shape and stay soft for hours after steaming, making them ideal for packing into lunchboxes without reheating. They travel well and taste just as good at room temperature.
Khushi's Pro Tip
Always add the fruit salt last, just before you pour the batter. The mistake I see most often is mixing it in and then walking away for two minutes. Those two minutes cost you all the aeration. Stir it in quickly, pour immediately, and get the thali into the steamer within 30 seconds. That is the difference between a flat dhokla and a properly spongy one.
Star Cast
Key Ingredients
Soaked Moong Dal
This is the soul of the recipe and what separates it from a standard besan dhokla. Soaking the dal for at least 4 hours softens it enough to blend into a smooth batter, and it provides the protein punch that makes this version genuinely healthy. Do not skip the soaking step — unsoaked dal will not blend properly and the texture will be grainy.
Sooji (Semolina)
Sooji gives the dhokla its structure and a slight bite so the final pieces hold together when cut. Without it, a moong dal batter can turn too soft and collapse. If you need a gluten-free version, replace sooji with an equal amount of rice flour, though the texture will be slightly less firm.
Fruit Salt (Eno)
Fruit salt is what makes the batter rise and gives the dhokla that classic spongy, airy texture inside. It must be added right before pouring the batter into the thali — the moment it hits the batter, it starts working. Delay pouring and you will lose all the lift. Baking soda is a partial substitute but gives a slightly different flavour.
Poha (Flattened Rice)
A small amount of soaked poha in the batter adds softness and helps bind everything without making the dhokla dense. It is a quiet ingredient that does a lot of behind-the-scenes work. If you do not have it, simply skip it — the recipe will still work, but the texture will be marginally denser.
Cook Along
Ingredients
The Dhokla Batter
- 1 cupMoong dal(soaked for at least 4 hours, drained)
- 1 cupSooji (semolina)(fine variety)
- ¼ cupPoha (flattened rice)(soaked in water for 10 minutes, drained)
- ¼ cupBesan (chickpea flour)
- ¼ cupCurd (plain yoghurt)(use fresh, not sour curd)
The Spice and Season
- ½ tspGreen chilli ginger paste(freshly made or store-bought)
- ½ tspTurmeric powder
- Salt(as per taste)
- 2 tbspOil(for the batter, plus extra for greasing)
- 1 tbspFruit salt (Eno)(add only at the very last moment before steaming)
- Red chilli flakes(for sprinkling on top, to taste)
The Vaghar (Tempering)
- 2 tbspOil
- ½ tspMustard seeds (rai)
- ½ tspSesame seeds (til)
- ½ tspAsafoetida (hing)
- 5 Curry leaves(fresh)
Instructions
Tap a step number to mark it done as you cook.
Building the Base Batter
- In a large mixing bowl, combine the soaked and drained moong dal, sooji, soaked poha, besan, and curd. Stir everything together until roughly mixed.
- Add the green chilli ginger paste, turmeric powder, and salt. Mix well, then let the whole mixture rest for 15 minutes so the sooji can absorb the moisture and swell slightly.
Blending to a Smooth Batter
- Transfer the rested mixture to a blender and blend until you have a smooth, pourable batter. You want it thicker than dosa batter but thin enough to spread easily — like a thick cake batter.
- Pour the blended batter back into the bowl and stir in 2 tablespoons of oil. The oil gives the dhokla a slight sheen and prevents it from sticking to the thali.
Preparing the Steamer
- Fill your dhokla steamer or a large pot with enough water to generate steady steam — about 2 cups — and bring it to a full boil on high heat. This should take about 4 to 5 minutes.
- Grease a flat thali or any heatproof plate generously with oil on all sides. A well-greased thali means your dhokla will release cleanly and cut without tearing.
The Fruit Salt Moment
- With your steamer already boiling and the greased thali ready, add 1 tablespoon of fruit salt to the batter. Work quickly and stir gently but thoroughly for about 15 to 20 seconds — you will see the batter become frothy and increase slightly in volume.
- Immediately pour the batter into the greased thali, spreading it evenly to about 1.5 cm thickness. Sprinkle red chilli flakes across the top and place it in the steamer at once. Every second counts here.
Steaming to Perfection
- Cover the steamer and steam the dhokla on medium-high heat for 10 minutes without lifting the lid. Resist the temptation to check — every time you lift the lid, you release steam and the dhokla can sink.
- After 10 minutes, insert a toothpick or clean knife into the centre of the dhokla. If it comes out clean with no wet batter clinging to it, the dhokla is done. If not, cover and steam for 2 more minutes.
- Remove the thali carefully using tongs or a thick cloth and let it cool for 3 to 4 minutes before cutting. Cutting too early causes it to crumble.
Cutting the Dhokla
- Once slightly cooled, use a sharp knife to cut the dhokla into squares or diamond shapes. Run the knife cleanly in one stroke rather than sawing back and forth, which keeps the edges neat.
- Gently loosen the pieces from the thali using a flat spatula and transfer them to a serving plate.
The Vaghar — Where Flavour Begins
- Heat 2 tablespoons of oil in a small pan on medium flame until it shimmers. Add the mustard seeds and let them crackle for about 20 to 30 seconds — you will hear a rapid popping sound when they are ready.
- Add the asafoetida (hing), sesame seeds, and curry leaves all at once. They will sizzle and crisp up in about 15 seconds. The kitchen will smell incredible at this point.
- Pour the hot vaghar evenly over all the dhokla pieces immediately. The tempering soaks into the top of each piece and adds a layer of nutty, aromatic flavour that no amount of chutney can replace.
Pairs Perfectly With
Storage & Make-Ahead
Moong dal dhokla stays fresh at room temperature for up to 6 hours. In the refrigerator, store in an airtight container for up to 2 days. To reheat, steam briefly for 3 to 4 minutes — microwaving can make it rubbery. Freezing is not recommended as the texture becomes grainy after thawing.
Try These Too
Cheese and Green Onion Dhokla
After pouring the batter into the greased thali and just before steaming, scatter 3 tablespoons of grated processed cheese and 2 tablespoons of finely chopped spring onion greens across the top. The cheese melts into the dhokla during steaming and creates a richer, more indulgent version that works especially well as a party snack.
Air Fryer Method
Pour the batter into a small greased heatproof cake tin that fits your air fryer basket, then place it inside and air fry at 160 degrees Celsius for 12 to 14 minutes. The result is a slightly firmer, lightly browned dhokla rather than the classic soft steamed version — good if you prefer a bit of crust on the outside.
Spinach Moong Dal Dhokla
Blend a small handful of fresh spinach leaves with the batter before adding the fruit salt — this turns the dhokla a beautiful pale green and adds iron without changing the flavour significantly. Reduce the turmeric to a pinch since the spinach provides the colour.
Affiliate
Shop the Recipe

Besan
Good-quality fine besan helps bind the moong dal batter evenly, giving the dhokla a smooth texture without any raw flour taste.
Buy on Amazon
Dhokla Steammer
A purpose-built dhokla steamer holds the thali at the right height above boiling water for consistent, even steam circulation across the entire batter.
Buy on Amazon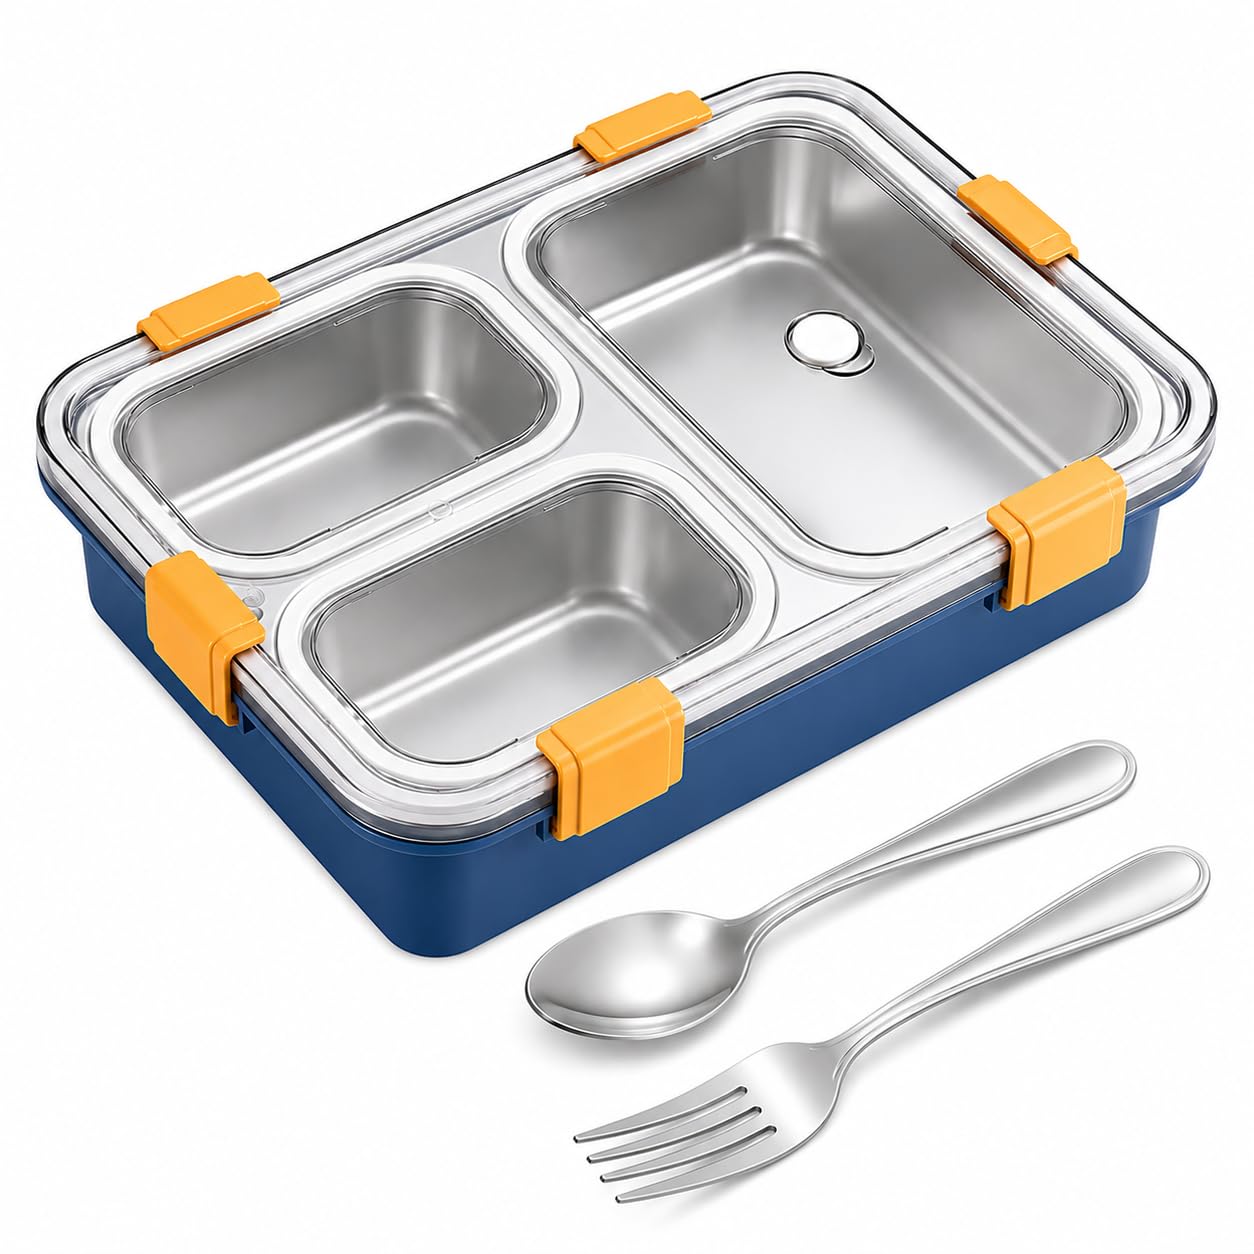
Lunch Box
An airtight lunchbox keeps dhokla pieces from drying out during transit, so they arrive at school or work just as soft as when they were steamed.
Buy on Amazon* Some links are affiliate links. Clicking and purchasing may earn a small commission at no extra cost to you.
Frequently Asked Questions
Enjoyed this recipe?
Rate this recipe:
Similar Posts


Never Miss a Recipe
From Khushi's Kitchen
to your inbox
New recipes, seasonal specials, and kitchen stories — no spam, ever.
No spam. Unsubscribe anytime.