
Aloo Matar Bread Kachori
We all love a hot, Khasta (crispy) Kachori with our evening tea. But let’s be honest—kneading the dough, resting it, and rolling it out perfectly is a lot of work. Most of us just give up and buy it from the Halwai.
But what if I told you that you can make the crispiest Kachori of your life using a simple packet of bread?
Yes! This Aloo Matar Bread Kachori is the ultimate Jugaad (hack) for kachori lovers. There is no maida kneading and no rolling pins involved. We use a unique “Steaming Hack” to make the bread flexible, stuff it with a spicy Potato-Peas masala, and fry it to golden perfection.
The result? A kachori that is crunchy on the outside, soft and spicy on the inside, and ready in half the time. It’s the perfect party starter or monsoon snack.
Let’s get frying!
Major Ingredients & Smart Substitutes:
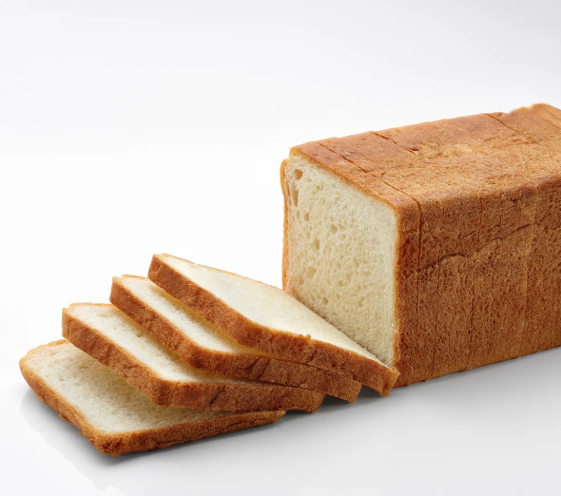
Bread Slices
White sandwich bread works best here. Large slices give you bigger kachoris.
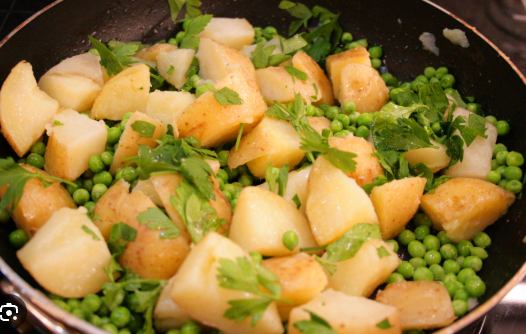
Boiled Potatoes & Peas
The classic filling combination. Or You can add paneer cubes or cheese to the filling for a richer taste.
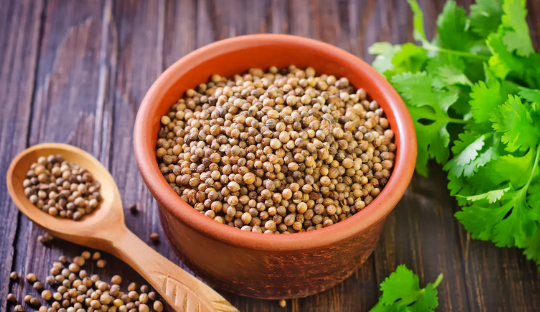
Coriander Seeds
This is the secret “Halwai” ingredient. When crushed between teeth, it releases a burst of flavour.
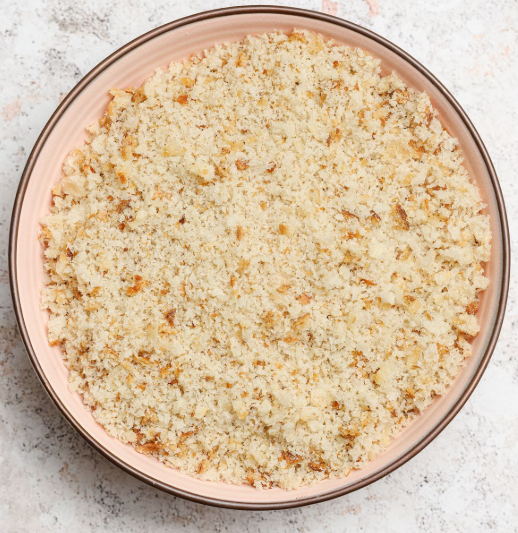
Breadcrumbs
Used for the final coating to ensure the bread doesn’t absorb too much oil
👉 Pro-Tips for the Perfect Crunch
The “Steam” Secret: Most people dip bread in water to shape it, which makes the kachori oily. Do not dip it! Instead, steam the bread slices for 2-3 minutes. This makes the bread soft, moist, and pliable like a roti without making it soggy. It seals perfectly and absorbs less oil!

Aloo Matar Bread Kachori
An instant version of the classic Indian snack. Spicy potato and pea filling is stuffed between steamed bread slices, coated in crumbs, and fried to a golden crisp.
Ingredients
The Spicy Stuffing:
- 3 pieces Medium Potatoes boiled and peeled
- ½ cup Green Peas fresh or frozen
- 1 tbsp Oil
- 1 tsp Cumin Seeds Jeera
- 1 tsp Coriander Seeds whole
- 1 tsp Hing
- 1 tbsp Green Chilli & Ginger Paste
- 1 tsp Red Chilli Powder
- 1 tsp Coriander Powder
- 1 tsp Turmeric Powder
- 1 tsp Garam Masala
- 1 tsp Salt
- 1 tbsp Coriander chopped
The Outer Layer:
- 16 slices Bread
- 1 cup Breadcrumbs dried
- 4 cups Oil for deep frying
The Slurry (Glue):
- 1 tbsp Corn flour
- ½ cup Water
- ½ tsp Red chilli powder
- 1 pinch Salt
Instructions
Making the Chatpata Masala
- Heat 1 tbsp oil in a pan. Add Cumin Seeds, Hing, and whole Coriander Seeds. Let them crackle.
- Add the Green Chilli-Ginger Paste and Peas (Matar). Sauté for 2 minutes until peas are slightly tender.
- Add the dry spices: Red Chilli, Turmeric, Coriander Powder, and Salt. Roast for 30 seconds (don't burn them!).
- Add the Boiled Potatoes. Mash everything together directly in the pan using a potato masher or spoon.
- Finish with Garam Masala and fresh Coriander. The stuffing should be dry and spicy. Let it cool.
The Steaming Hack (Crucial Step)
- While the masala cools, prepare your steamer (or use a colander over boiling water).
- Place the bread slices in the steamer for just 3 to 5 minutes on low flame.
- Why? This makes the bread super soft and slightly moist, allowing it to stick together easily without breaking.
Preparing the Slurry
- In a small bowl, mix Corn Flour, Water, Salt, and Red Chilli Powder.
- Mix well to remove lumps. This liquid will act as our glue and coating base.
Stuffing & Shaping (The Sandwich Method)
- Take one slice of steamed bread. Place a generous spoonful of the Aloo Masala in the center.
- Optional: Add a cube of cheese here if you want a cheesy surprise!
- Apply the Corn Flour Slurry on the edges of the bread slice using a brush or finger.
- Place another bread slice on top. Press gently.
- Cut & Seal: Take a sharp-edged round steel bowl (Vati/Katori) or a cookie cutter. Press it down firmly in the center of the sandwich to cut out a round shape.
- The pressure of the bowl will automatically seal the edges of the two bread slices, creating a perfect round "Kachori."
The Double Coat
- Dip this round Kachori quickly into the Corn Flour Slurry.
- Immediately roll it in Breadcrumbs. Press gently so the crumbs stick well.
- Tip: This breadcrumb layer ensures the kachori stays crispy for a long time.
Golden Fry
- Heat oil in a kadhai. The oil should be hot.
- Slide the kachoris in carefully. Fry on Medium-High flame.
- Since the filling and bread are already cooked, you just need to brown the outside. Fry until golden and crisp.
- Serve hot with Tamarind Chutney or Ketchup!
Watch me cook this live:
Don’t just read the recipe—see exactly how to get that perfect texture in 4k quality.


